How To Clean And Repair Your Winter Hot Tent
As warm September days turn to cool October ones, the window for getting winter camping gear ready for the upcoming season is drawing to a close. The best time to tackle all these chores is in the height of summer, when warm sunny days dry out tents the quickest, and when one can enjoy a cold beverage in the backyard while doing these tasks. If you've procrastinated, it's not too late - but better get to it before it is!
Once you're done with your winter hot tent, be sure to also Clean and Maintain Your Hot Tent Wood Stove.
Materials needed:
- Esker Tent Cleaner
- Soft bristle brush
- Hot water
- Spray bottle
- Cold rinse water
- Silicone
- Low tack tape
How to Clean Your Canvas Winter Hot Tent
Canvas winter hot tents don't require a lot of maintenance, provided they are put away dry at the end of the season. Maintenance involves cleaning the tent, and repairing any pin holes that may have developed.
1) Begin by mixing a batch of Esker Tent Cleaner with the prescribed amount of hot water in a spray bottle.

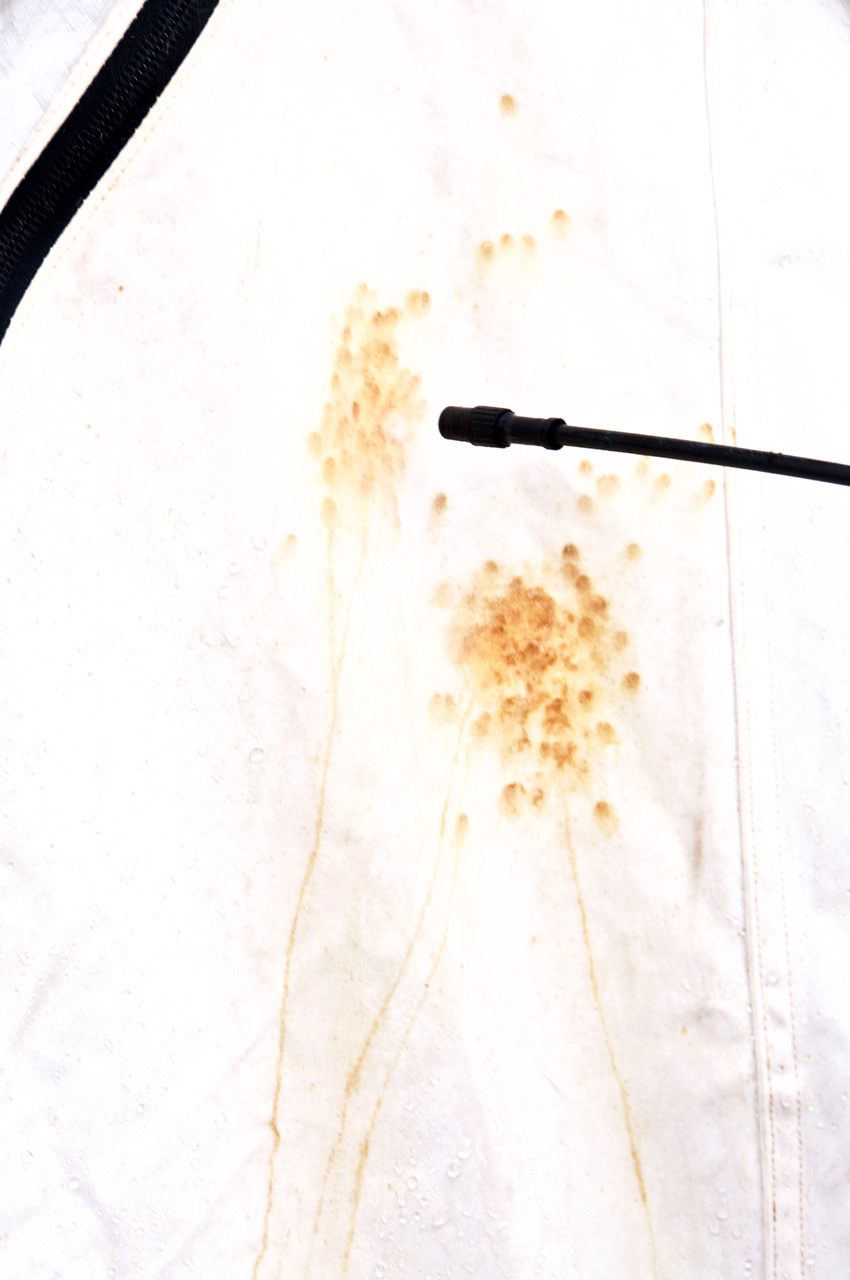
2) Wet soiled areas of creosote, bird droppings, mold, or other areas you want to work on, and then apply solution to these areas. Let stand and soak in for 15 - 20 minutes.
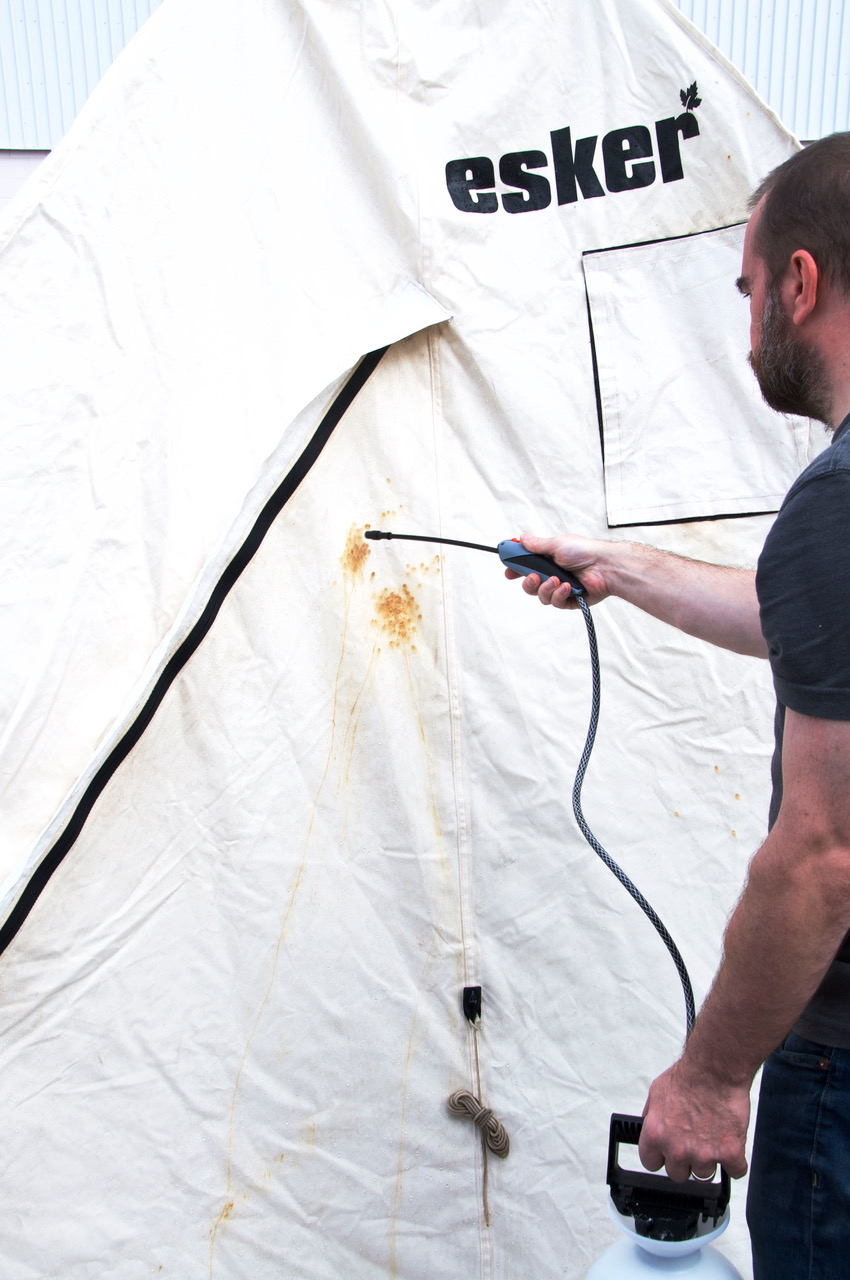
3) Apply more solution.
Use a soft bristle brush to gently scrub stains.
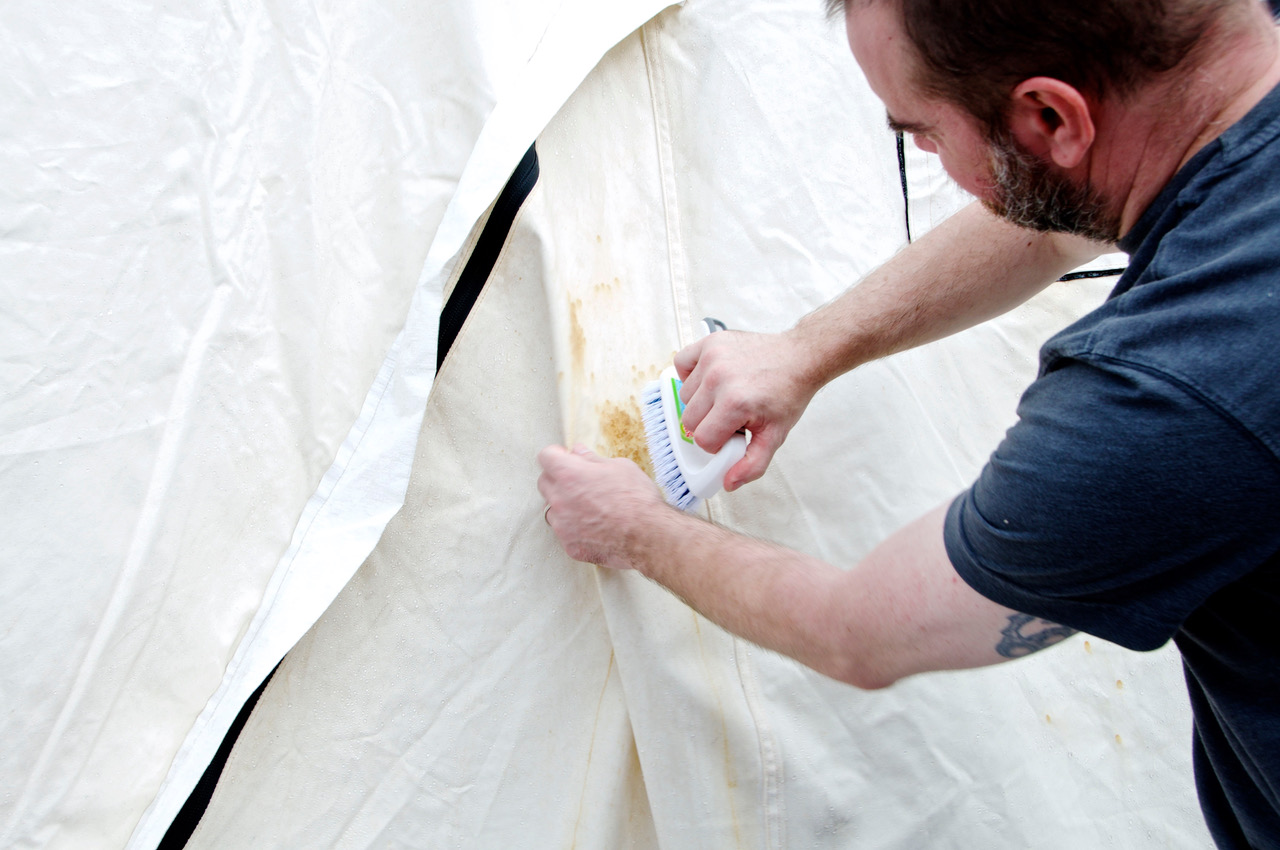
Heavily soiled or heavy areas of creosote may require longer soak times (up to overnight), and multiple applications to remove completely.
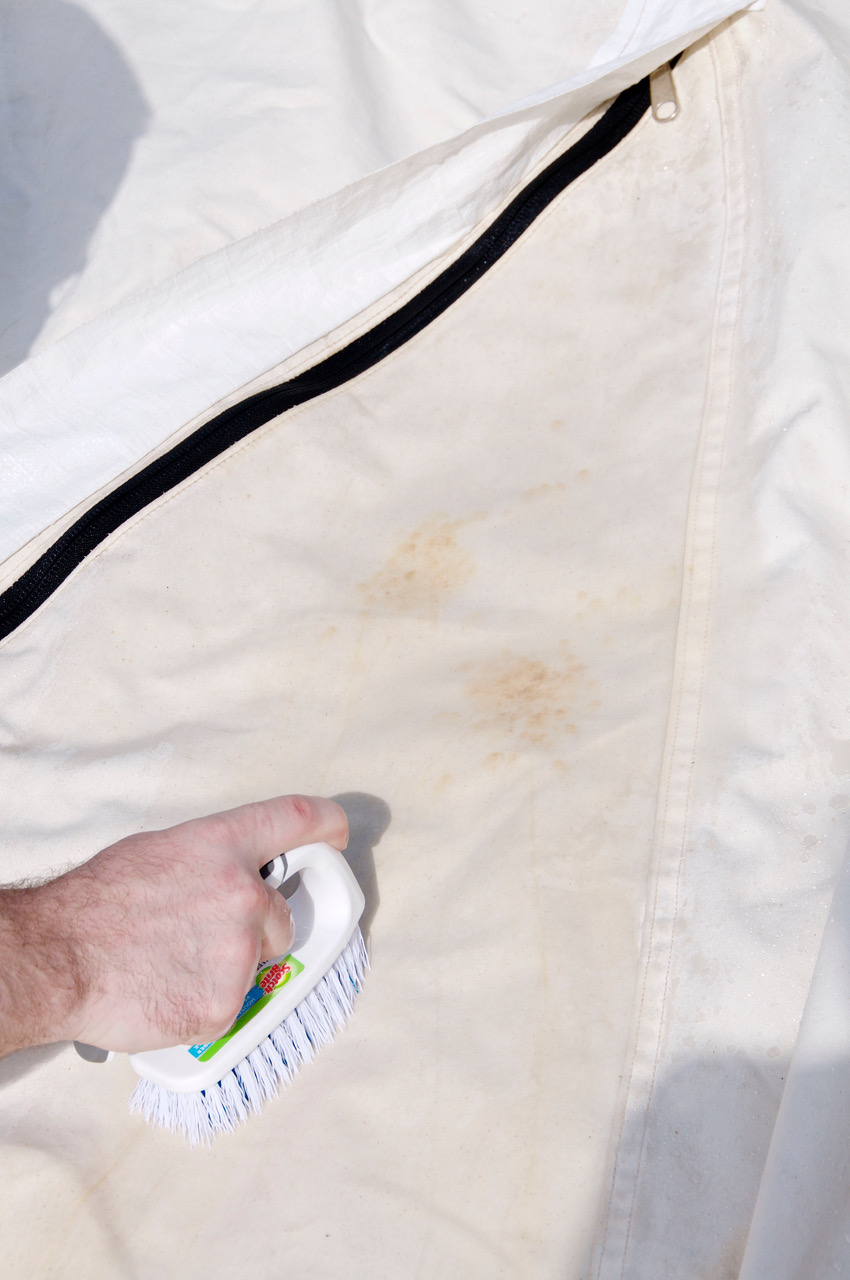
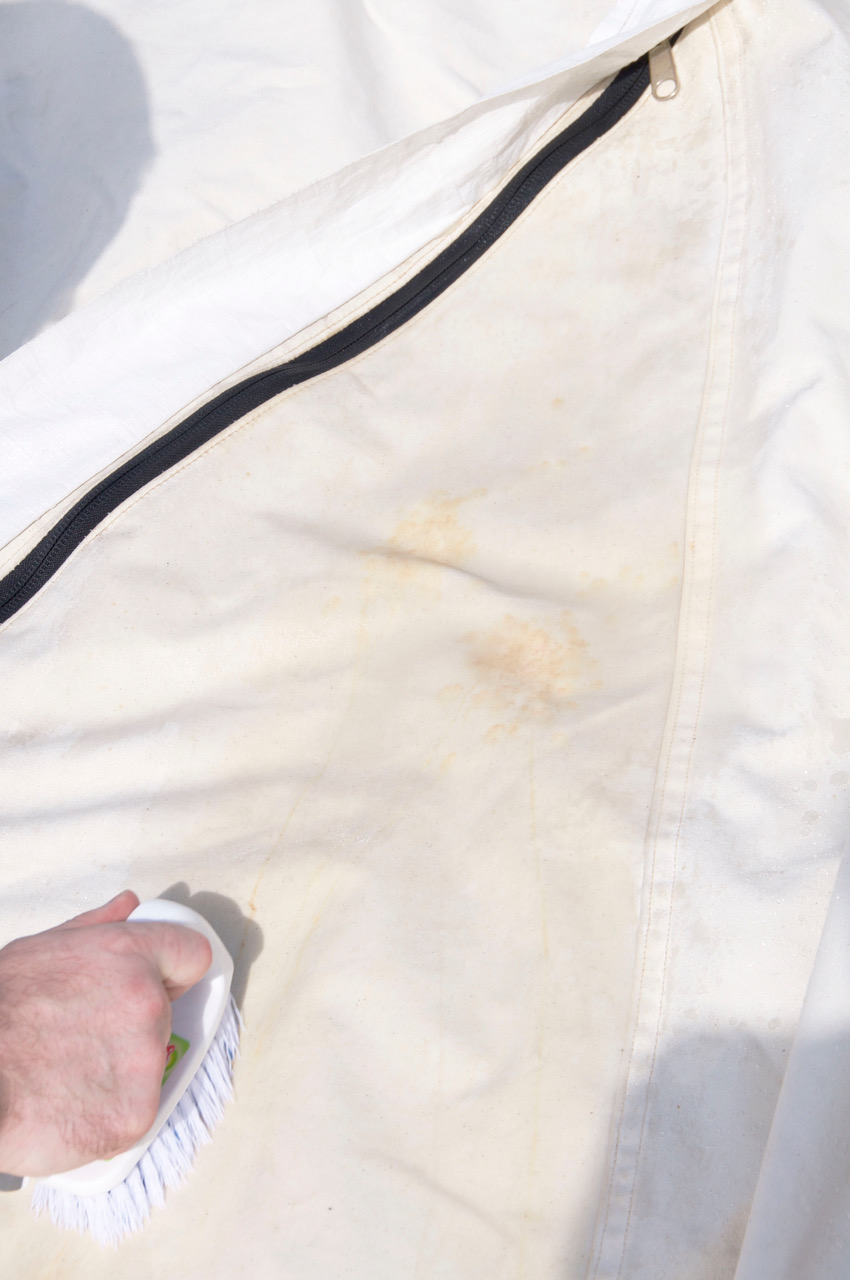
4) Once area is clean, rinse with cold water.
5) Let tent dry completely before putting away. This is crucial. Never pack a wet tent and leave it packed wet - despite being treated for mold resistance, mold can form on wet tents left in their bags.
How to Repair Your Winter Hot Tent
1) Check tent for pin holes, spark holes, or other areas needing repair.
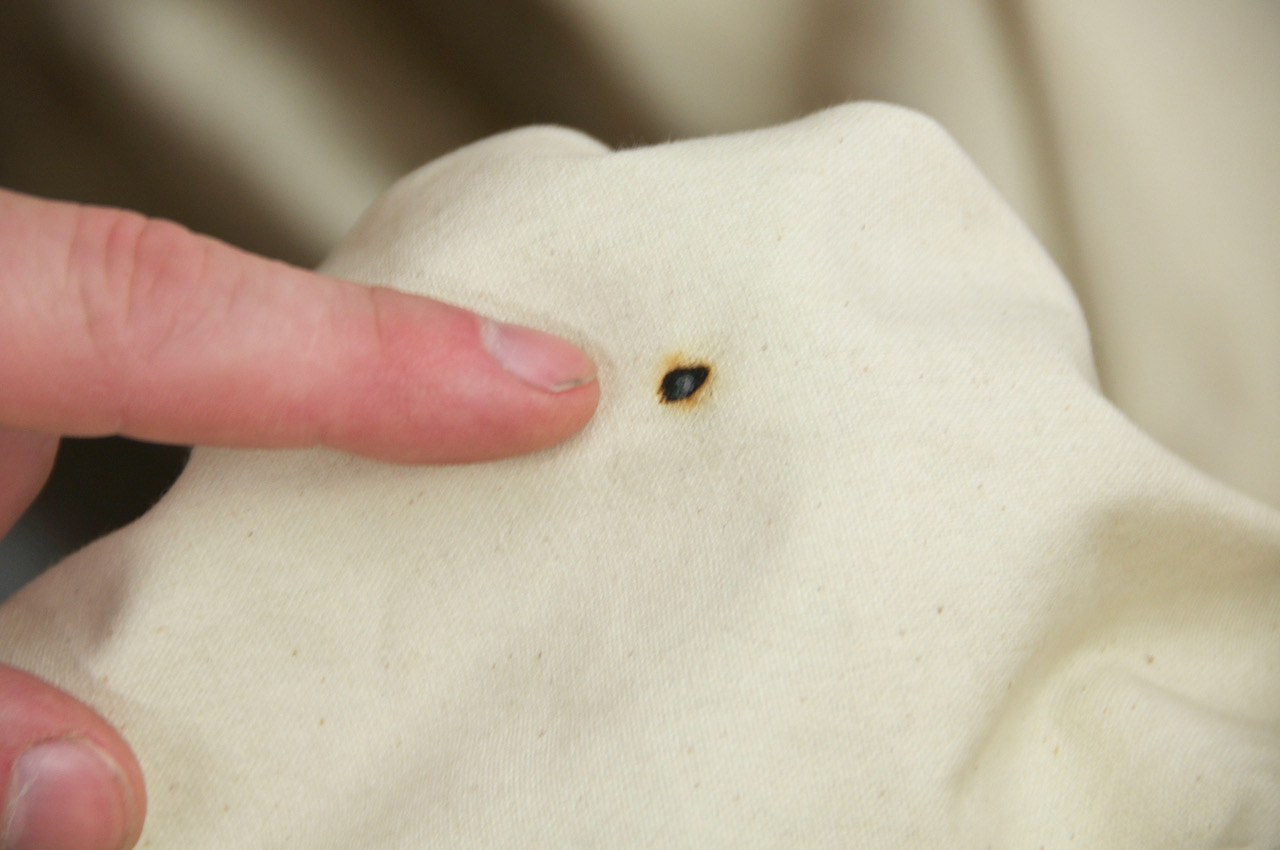
2) To repair a pin or spark hole, affix low tack tape to the underside of the hole.
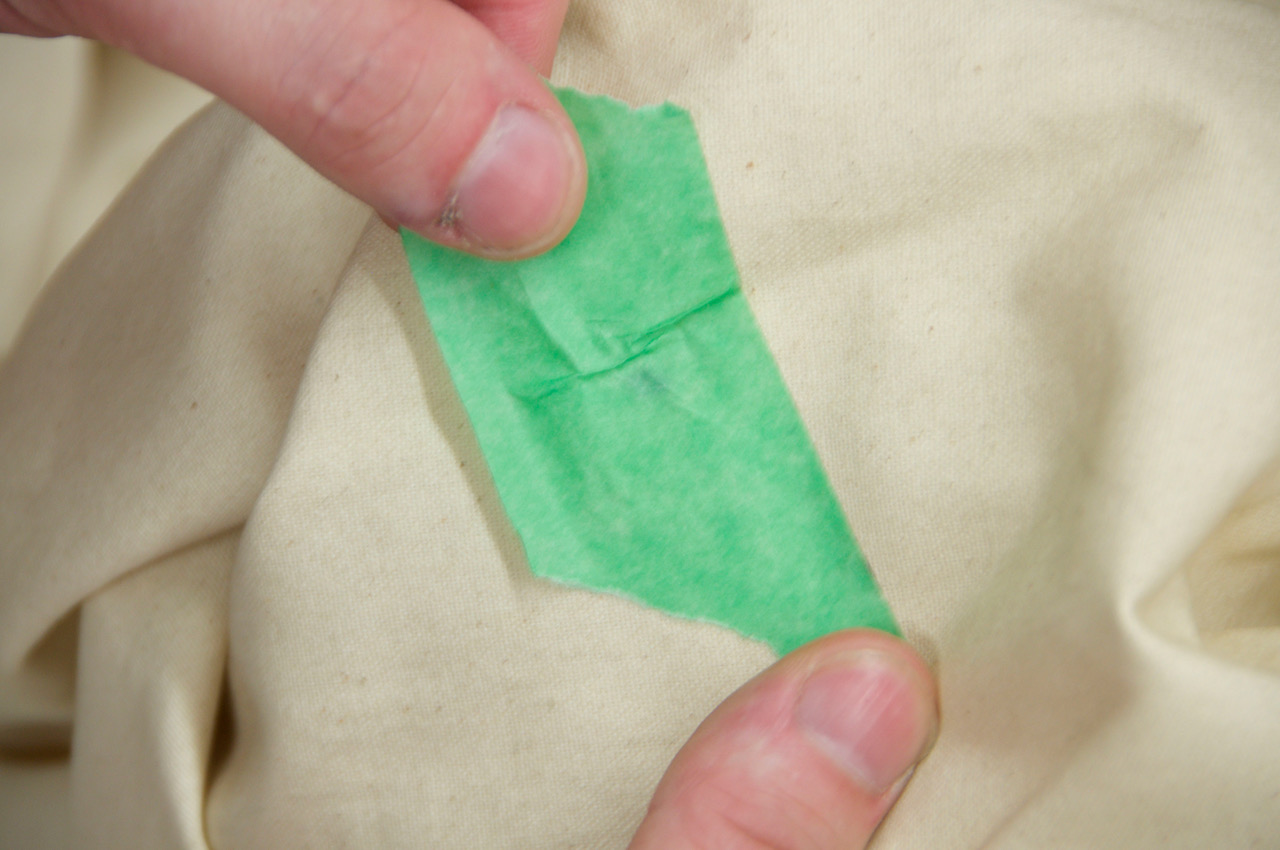
3) Apply silicone to the top side of the hole and use included brush to spread out.
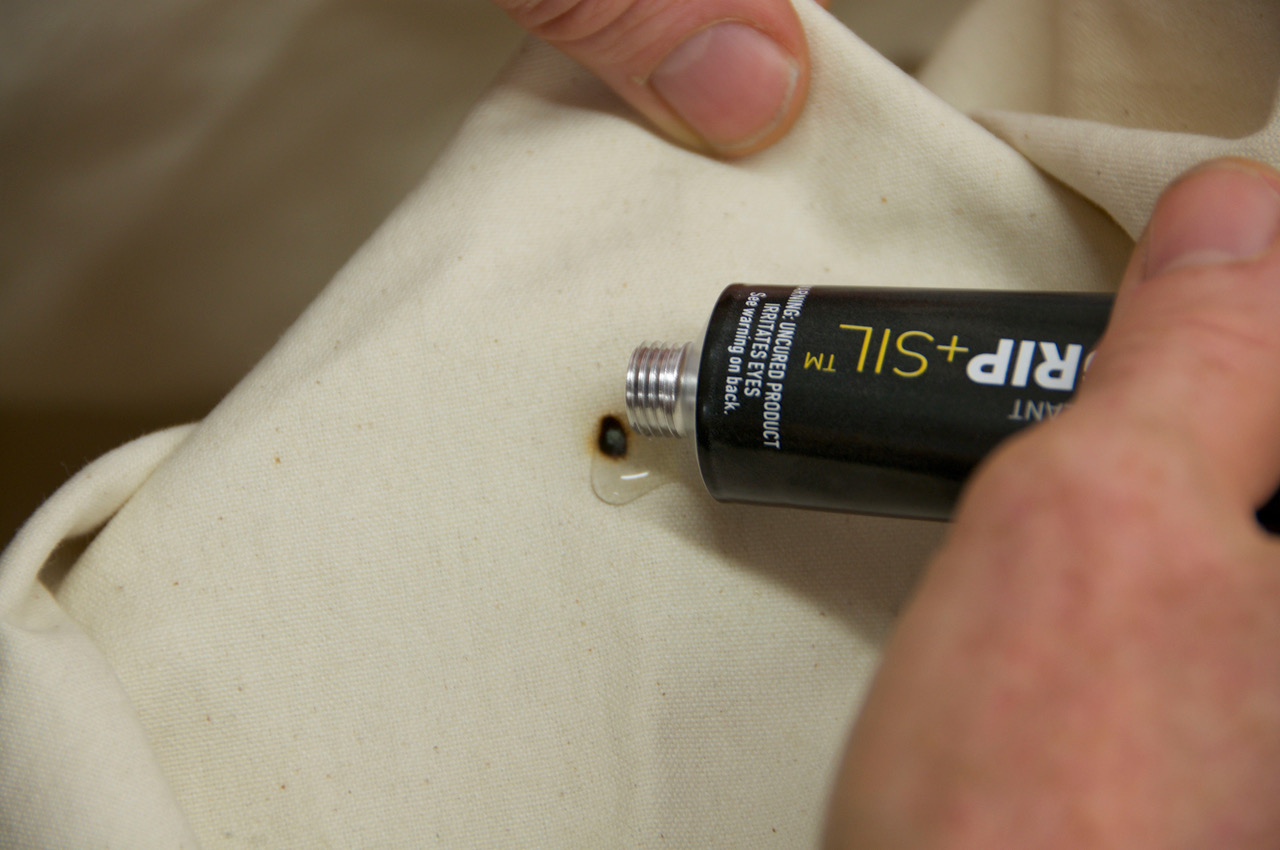
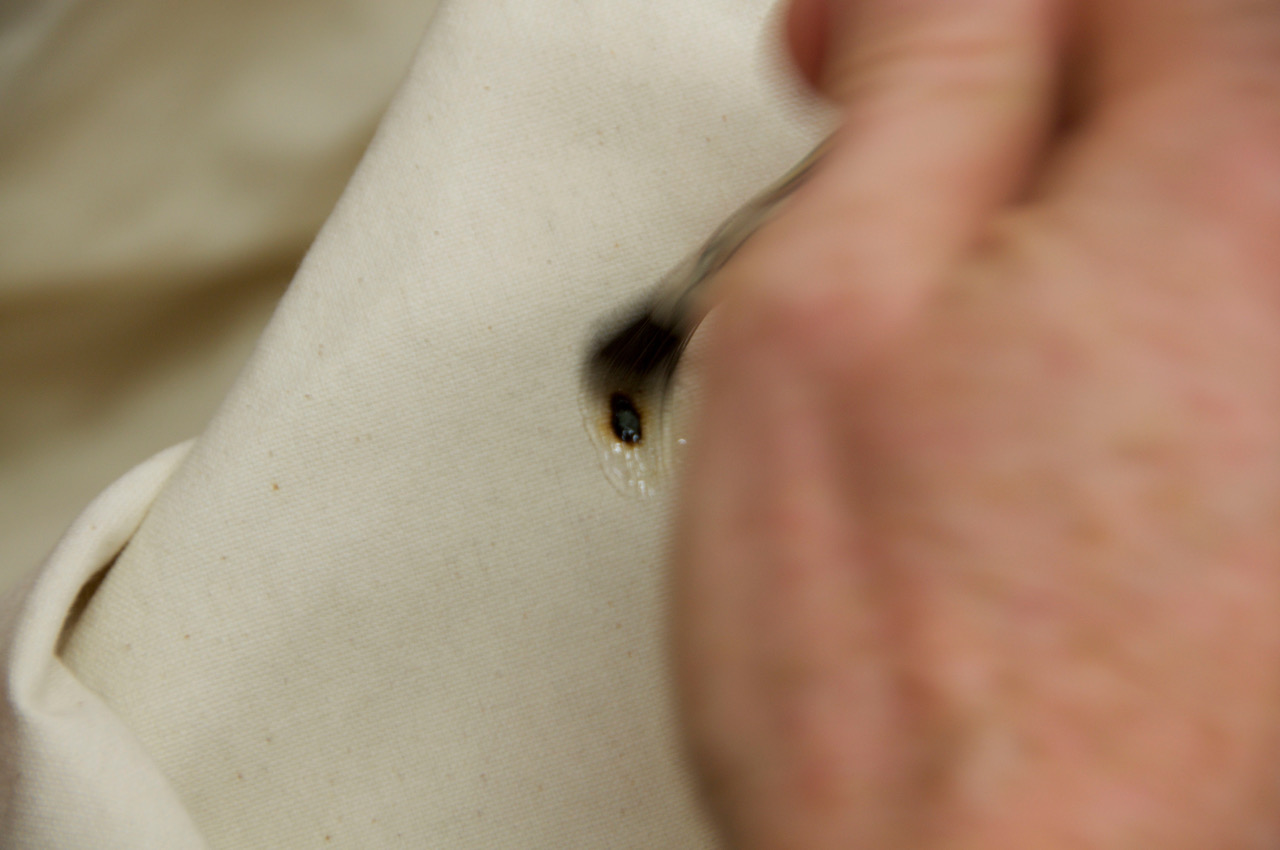
4) Let dry, and cure completely (6 - 8 hours). Once dry and cured remove the low tack tape.
Tim Foley
Tim grew up spending summers and much of his spare time in the backwoods of Northern Ontario and has been canoeing, camping and hiking ever since. When not running the Canadian Outdoor Equipment Co., you can find him riding his bike, hiking the Bruce Trail, canoeing, or clearing trails, cutting firewood and testing gear out in the bush.